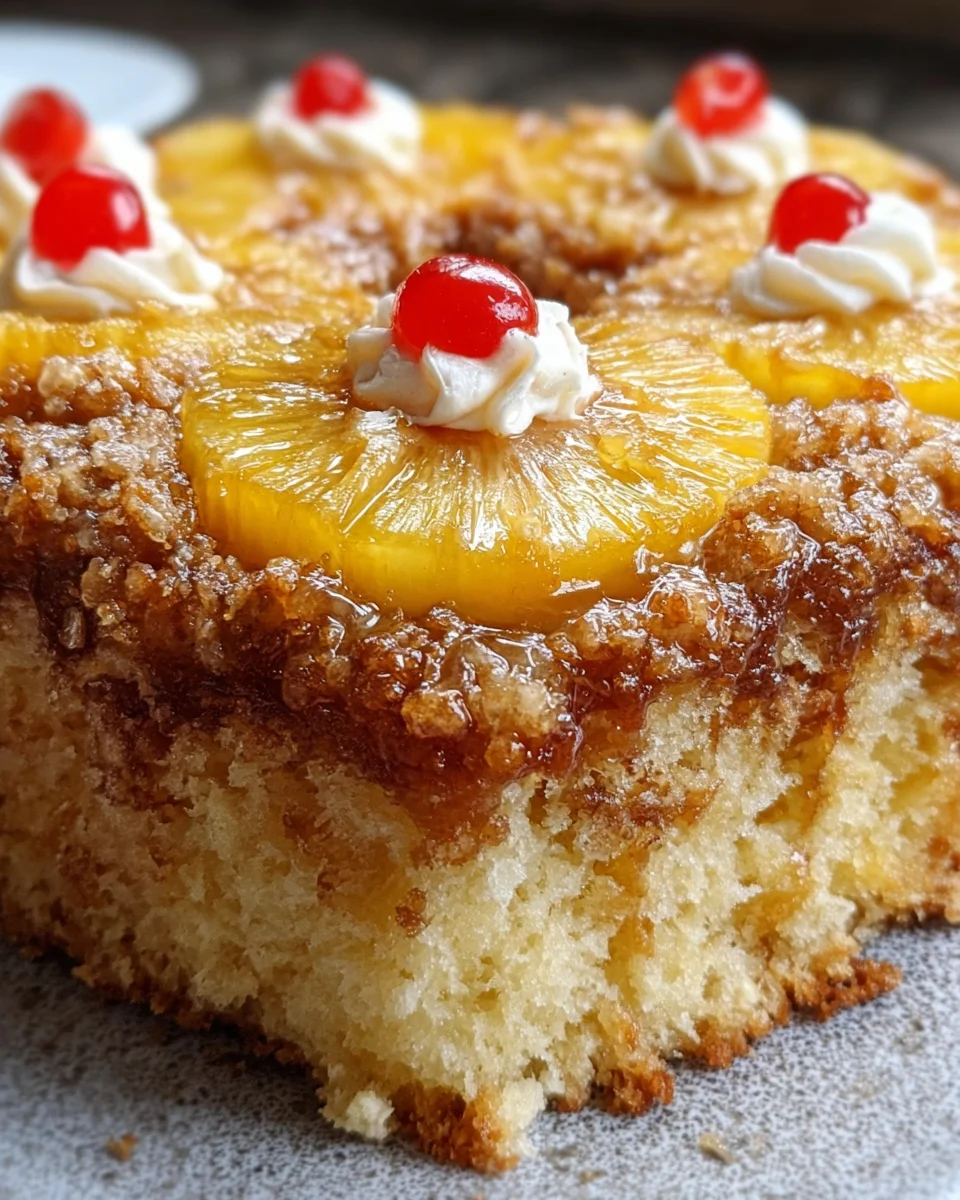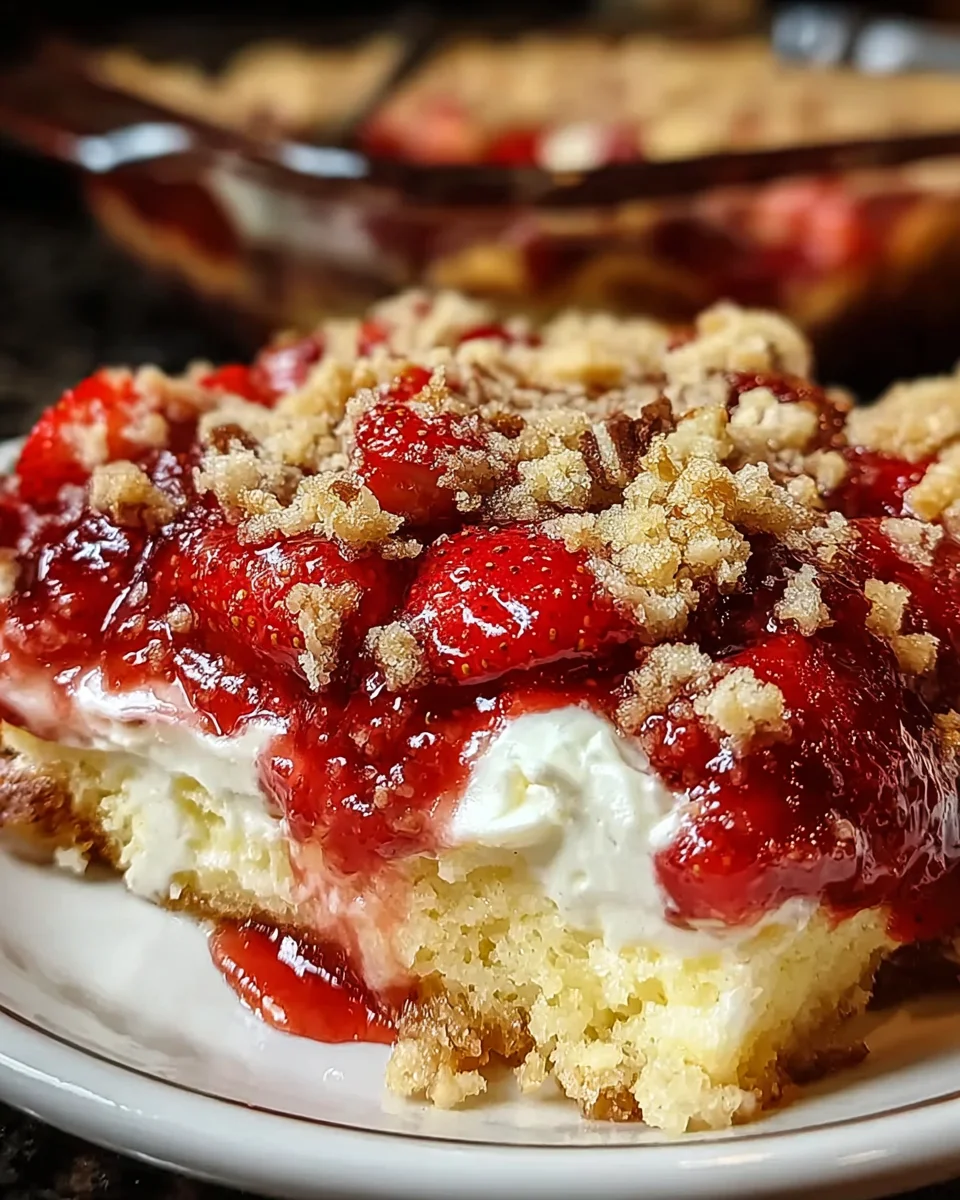
Introduction to Strawberry Cheesecake Dump Cake
Hi there, fellow food lovers! If you’re anything like me, you’re always on the lookout for a quick yet delicious dessert to brighten your busy days. That’s where the Strawberry Cheesecake Dump Cake comes into play. This delightful recipe brings the comforting flavors of classic cheesecake and strawberries together in a wonderful, fuss-free way. It’s perfect for whipping up in no time, whether you’re hosting a gathering or simply craving something sweet. Trust me; you’ll want to keep this handy for those moments when you need a dessert that impresses without the stress!
Why You’ll Love This Strawberry Cheesecake Dump Cake
This Strawberry Cheesecake Dump Cake is a game changer for anyone with a busy lifestyle! It’s incredibly easy to throw together, making it perfect for last-minute gatherings or a sweet treat after dinner. The combination of creamy cheesecake and fruity strawberries creates a harmonious explosion of flavor. Plus, the delightful aroma of your baking fills the home with warmth, making it a comforting dessert that the whole family will love!
Ingredients for Strawberry Cheesecake Dump Cake
To create this delicious Strawberry Cheesecake Dump Cake, you’ll need a handful of simple ingredients, many of which you might already have in your pantry! Here’s what you’ll need:
- Yellow cake mix: This forms the base of our cake, providing that lovely sweetness and texture.
- Strawberry pie filling: The star ingredient! It infuses every bite with luscious strawberry flavor.
- Cream cheese: Essential for that creamy cheesecake layer, it brings richness and smoothness.
- Granulated sugar: A touch of sugar adds sweetness to the cream cheese mixture, balancing flavors beautifully.
- Vanilla extract: Just a hint elevates the flavor profile, rounding out the dessert perfectly.
- Unsalted butter: Drizzling this on top helps achieve a golden, crispy finish, adding to the overall texture.
- Chopped pecans (optional): If you want to add a little crunch, toss some nuts on top! You can also substitute with other nuts if you prefer.
For exact quantities of these ingredients, don’t forget to check the bottom of the article where everything you need is listed, ready for printing!
How to Make Strawberry Cheesecake Dump Cake
Creating a Strawberry Cheesecake Dump Cake is as simple as it sounds! Follow these steps, and you’ll have a delightful dessert that’ll make your taste buds jump with joy. Let’s dive into the deliciousness!
Step 1: Preheat the Oven and Prepare the Dish
Start by preheating your oven to 350°F (175°C). This step is crucial for ensuring your cake bakes evenly. While the oven warms up, grab a 9×13-inch baking dish and grease it lightly with cooking spray or butter. This will help your cake slide out easily once it’s baked. Trust me; it’s a little gesture that goes a long way!
Step 2: Layer the Strawberry Pie Filling
Once your baking dish is ready, open those cans of strawberry pie filling and spread them evenly across the bottom of the dish. This fruity layer is where the magic begins! Use a spatula to ensure the filling covers the dish entirely, so you get that luscious strawberry flavor in every bite. The goal is to create a lovely foundation for your dessert.
Step 3: Make the Cream Cheese Mixture
In a separate bowl, mix together the softened cream cheese, granulated sugar, and vanilla extract. I like to use an electric mixer for this, as it helps achieve that perfectly smooth consistency. Beat it until it’s all creamy and well combined—think fluffy clouds of cheesecake goodness! Once you have that smooth mixture, dollop it in spoonfuls over the strawberry filling. Don’t worry if it’s not perfect; it’s going to blend beautifully in the oven!
Step 4: Sprinkle the Cake Mix
Now it’s time for the star of the show—the yellow cake mix. Gently sprinkle the dry cake mix evenly over the cream cheese mixture. To avoid clumping, I recommend using your fingers or a small sieve to break it up as you go. This will ensure a pleasant texture throughout. No need to mix it; just let it sit and meld with the layers below!
Step 5: Add Butter and Optional Toppings
Drizzle melted unsalted butter all over the top of your cake mix. This golden drizzle is what creates that crispy topping, adding a delightful crunch! If you decide to use chopped pecans, sprinkle them over the buttered cake mix now. They’re optional, but they add a lovely nutty flavor and texture. Who doesn’t love a little extra crunch in their dessert?
Step 6: Bake to Perfection
Pop your ready baking dish into the preheated oven and let it bake for about 40–45 minutes. Keep an eye on it! You’ll want to look for a golden-brown top and bubbly edges. The smell wafting through your kitchen will make you feel like a culinary magician. Once it’s done, allow it to cool in the dish for about 10 minutes before digging in.
Step 7: Cool and Serve
After letting your cake cool, slice it into generous squares. Serve it either warm, or let it chill if you prefer! This dessert is heavenly on its own, but I highly recommend topping it with a swirl of whipped cream or a scoop of ice cream for an extra amazing treat. It’s a delicious way to elevate your Strawberry Cheesecake Dump Cake experience!
Tips for Success
- Always ensure your cream cheese is softened for easier mixing and a smooth texture.
- For an extra burst of flavor, consider adding a sprinkle of lemon zest to the cream cheese mixture.
- Remember, the baking time may vary; keep an eye on the edges for that golden color.
- Let the cake sit for a few minutes after baking for better slicing.
- Serve warm for a delightful, gooey texture that everyone will love!
Equipment Needed

- Baking Dish: A 9×13-inch dish is ideal. If you don’t have one, a similar-sized pan will work, just watch your baking time.
- Mixing Bowls: Use a medium-sized bowl for the cream cheese mixture. Any bowl will do, even if it’s a bit smaller!
- Spatula: A rubber spatula helps spread the pie filling and cream cheese mixture easily.
- Electric Mixer: This is handy for a smooth cream cheese mix, but a whisk will work too!
Variations of Strawberry Cheesecake Dump Cake
- Berry Medley: Swap out the strawberry pie filling for mixed berry filling. Blueberries and raspberries add a delightful twist!
- Low-Fat Option: Use low-fat cream cheese and sugar substitutes to create a lighter version without sacrificing flavor.
- Chocolate Lovers: Add chocolate chips to the cream cheese mixture for a rich chocolate-strawberry dessert everyone will adore.
- Gluten-Free: Replace the yellow cake mix with a gluten-free cake mix. Ensure other ingredients are gluten-free for a safe treat!
- Nut-Free: Omit the pecans or substitute with sunflower seeds for a nut-free alternative that still provides crunch.
Serving Suggestions for Strawberry Cheesecake Dump Cake
- Pair with a scoop of vanilla ice cream for a delightful temperature contrast.
- Serve with a dollop of whipped cream to enhance the creamy goodness.
- Fresh strawberries on top add a beautiful touch and extra fruitiness.
- Enjoy with a cup of coffee or a refreshing iced tea.
- Serve in individual cups for a fun, fancy presentation!
FAQs about Strawberry Cheesecake Dump Cake
Can I make Strawberry Cheesecake Dump Cake in advance?
Absolutely! You can prepare the cake ahead of time and store it in the fridge for a day. Just reheat individual servings in the microwave before serving for a cozy treat.
What can I serve with Strawberry Cheesecake Dump Cake?
This dessert pairs beautifully with whipped cream or a scoop of vanilla ice cream. You might also enjoy it with a drizzle of chocolate sauce or fresh strawberries on top!
Is there a way to make this dump cake healthier?
Sure! You can use low-fat cream cheese and sugar substitutes to reduce calories. Consider swapping the yellow cake mix for a whole grain option or even a gluten-free mix.
How can I store leftovers?
Store any leftover cake in an airtight container in the refrigerator. It’ll keep well for about 3-4 days. Just give it a quick reheat or enjoy it cold for a refreshing snack!
Can I use fresh strawberries instead of pie filling?
While fresh strawberries won’t replicate the pie filling perfectly, you can make a quick cooked strawberry sauce. Simply heat fresh strawberries with sugar until they break down, and then use that as your layer instead!
Final Thoughts
Creating a Strawberry Cheesecake Dump Cake is truly an experience filled with joy. It’s not just about whipping up a dessert; it’s about bringing smiles to the faces of your loved ones. The simplicity of this recipe makes it perfect for busy days, allowing you to enjoy the process without the fuss. As the sweet aroma fills your home, it invites warmth and comfort, making every bite a little moment of happiness. So grab those ingredients, gather your family, and let this delightful dish become a cherished tradition in your home!
Print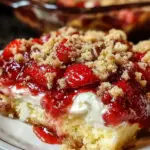
Strawberry Cheesecake Dump Cake
- Prep Time: 15 minutes
- Cook Time: 40-45 minutes
- Total Time: 55-60 minutes
- Yield: 12 servings 1x
- Category: Dessert
- Method: Baking
- Cuisine: American
- Diet: Vegetarian
Description
A delicious and easy-to-make Strawberry Cheesecake Dump Cake that combines the flavors of strawberries and cheesecake in a simple dump-and-bake style.
Ingredients
- 1 box yellow cake mix (15.25 oz)
- 2 cans strawberry pie filling (21 oz each)
- 1 block cream cheese (8 oz), softened
- ½ cup granulated sugar
- ½ teaspoon vanilla extract
- ½ cup unsalted butter, melted
- ½ cup chopped pecans (optional)
Instructions
- Preheat oven to 350°F (175°C) and grease a 9×13-inch baking dish.
- Spread strawberry pie filling evenly at the bottom.
- Combine cream cheese, sugar, and vanilla until smooth. Dollop over the pie filling.
- Sprinkle the dry cake mix on top.
- Drizzle melted butter and sprinkle pecans (optional).
- Bake for 40-45 minutes or until golden and bubbly.
- Let cool slightly before serving.
Notes
- Ensure the cream cheese is softened for easier mixing.
- Can substitute pecans with other nuts if desired.
- Best served warm with whipped cream or ice cream.
Nutrition
- Serving Size: 1 slice
- Calories: 300
- Sugar: 20g
- Sodium: 200mg
- Fat: 15g
- Saturated Fat: 8g
- Unsaturated Fat: 5g
- Trans Fat: 0g
- Carbohydrates: 39g
- Fiber: 1g
- Protein: 3g
- Cholesterol: 30mg